You might also like…


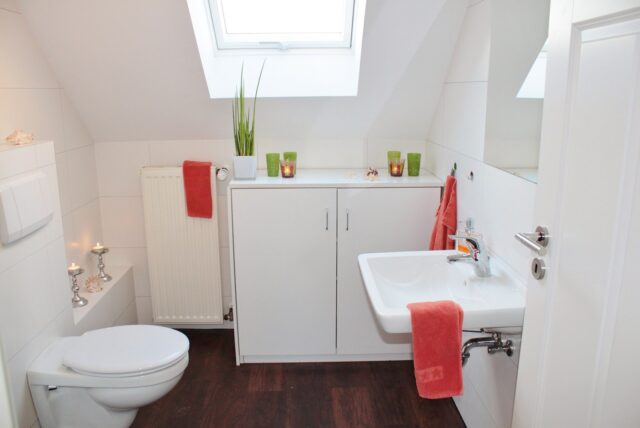
Laminate is a popular flooring type, so it’s no surprise that many property owners want it in their bathrooms. However, figuring out how to lay laminate around a toilet can be pretty challenging.
So, how do you do it? How do you lay laminate flooring in a bathroom around the toilet?
For the Best Look, Remove the Toilet First

Here’s the truth: you’re going to want to remove the toilet first and then install the flooring in order to get the best look. Getting a perfectly rounded cut around the edges of a toilet can be incredibly challenging. It’s nearly impossible to make the edges disappear.
If you aren’t too concerned with the finished look, then you might be able to install flooring with the toilet in place, just don’t expect a picture-perfect finished look. However, if you want the best final result, take the extra step of removing the toilet first. It’s worth it in the end.
To remove the toilet first, you’ll want to follow these steps:
Call a Plumber
Plumbers can be expensive, because their knowledge is invaluable. Calling a plumber to remove the toilet is the safest approach. However, you can also just call a plumber to give you a few tips before you get started.
Shut the Water Off
You always need to shut off the water before you remove the toilet. You don’t have to turn off the water for the whole property, just the water supply for the toilet. You can usually find the shutoff valve on the supply pipe right beneath the toilet tank. If it’s not there, check the wall right behind the toilet.
Have Replacement Bolts and a New Wax Seal on Hand
Be sure to have replacement bolts and a new wax seal on hand before removing your toilet. You will need them to secure the toilet back in place when you’re finished.
11 Steps for Installing Laminate Flooring Around a Toilet Drain
Once you’ve removed the toilet, you’re ready to install your laminate floor around the toilet drain. These eleven steps will guide you through the process:
1. Cover the Drain
Even though the toilet is gone, there’s still a drain to worry about. Put a cloth inside the drain to prevent gasses from coming up through the drain. It will also protect and prevent anything from falling down the drain.
2. Remove Baseboards
Remove the baseboards so that you can get the underlayment all the way up to the wall.
3. Replace or Install Antimicrobial Underlayment
Anytime you remove baseboards, it’s an excellent opportunity to replace the existing underlayment. If there isn’t one, it’s the perfect time to install one. Since you’re working in the bathroom, it’s a smart idea to choose an antimicrobial underlayment that will prohibit the growth of bacteria underneath the flooring.
4. Cut a Hole in the Underlayment Slightly Larger Than the Flange
You want to make sure to leave a small space in the underlayment around the flange of the toilet. This will allow you to put a silicone seal between the flange and the toilet, which will prevent water damage.


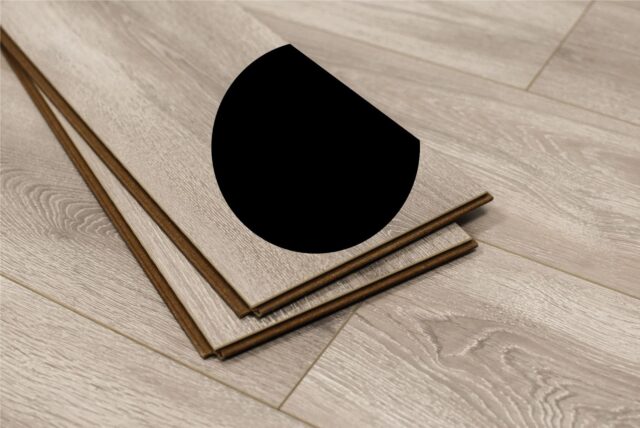
5. Choose a Water Resistant, Click-Lock Laminate Flooring


Now, it’s time for the laminate flooring. You want to make sure you choose a water-resistant laminate for the bathroom. Click-lock laminate provides a secure method for water protection. Click-lock laminate is easier to install and results in a much more appealing final look.
6. Start Laying Laminate Flooring
Start laying the laminate as you would in any other room until you get to the flange.
7. Create a Circular Paper Template
Measure the size of the flange. Then, draw those exact measurements on a piece of paper to create a paper template.
8. Trace the Size of the Flange on the Laminate
Line up a piece of laminate over the flange and use your paper template and a pencil to trace where the hole is going to be.
9. Cut Using a Jigsaw

Now, you can use a jigsaw to cut along the pencil mark you made, leaving you with a piece of laminate perfectly cut to fit around the flange. Then, you can install the piece.
10. Add Waterproof Sealing Around the Flange and Floor Edges
Once you’ve finished laying the laminate, be sure to add a waterproof seal around the floor’s edges and the flange to seal it all into place.
11. Reinstall Baseboards and the Toilet
Once the seal is dry, and everything is finished, it’s time to reinstall your baseboards and the toilet.
Choose BuildDirect for High-End Bathroom Flooring
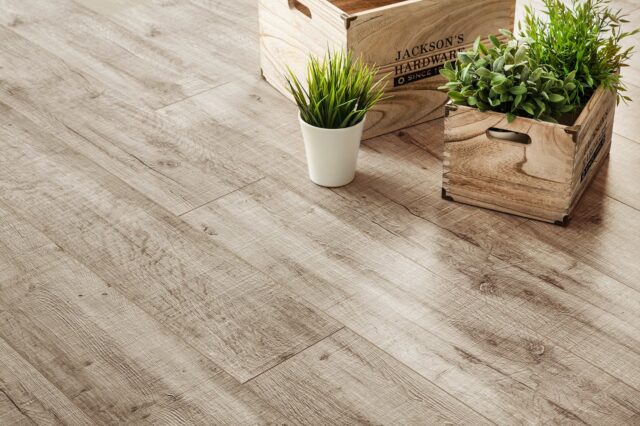

Installing laminate around a toilet isn’t too difficult. It just requires a bit of precision to get it done correctly. One of the most important decisions you have to make is choosing the right laminate for the job.
At BuildDirect, we have a large selection of high-end bathroom flooring options, including waterproof, click-lock laminate. We only offer the best flooring types to our customers, so you can rest easy knowing you’re getting high-quality materials from the beginning.
Additionally, if you join our PRO Rewards program, you get tons of other benefits, like on-site delivery, unlimited samples, 5% credit, and more. Become a PRO today. It’s totally free and takes just a few seconds to sign up.


 (1 rating, average rating is 1.00/5)