How to Stain Hardwood Floors
Staining is a popular way to seal and safeguard hardwood floors. Staining is such a common option because it helps bring out the wood’s grain and texture, and it doesn’t peel and chip the way paint does. However, you need to apply stain properly for it to look nice, and there are a sizeable number of stains available. Some stains are crystal clear; others are as white as milk. Certain stains leave a hint of color; others completely change the wood’s color. This in-depth guide will give you a better understanding of the types of stains and how to stain hardwood floors properly.
Different Types of Hardwood Stains
While we usually use the term “stain” to talk about any finish that changes the color of wood, there are actually quite a few categories of stains. These are the most common types of stains:
Oil stains — These are the most popular and widely available because they’re the easiest to use. Some oil stains contain only dye, some contain only pigment, and some contain a combination of dye and pigment.
Varnish stains — These stains are similar to oil stains except they dry hard and they’re a little harder to use.
Water-based stains — These are the easiest to clean up, yet they’re also more difficult to use because they dry so fast.
Gel stains — These are very thick and messy to apply, but they eliminate uneven coloring on the wood.
Lacquer stains — These dry rapidly, so you usually have to work with someone else when you’re applying it.
Selecting the Right Stain Color
The most important aspect to consider when looking for the best stain for hardwood floors is what type of wood you’re staining. Each wood species has different sizes of pores and grains, and that makes a difference in how stains absorb. Oak is the easiest wood to stain, and it takes to many colors without difficulty. On the other hand, pine, maple, and birch have small pores and tight grains, so the stain pigment doesn’t absorb easily, and they’re difficult to stain. Consequently, these woods can often look better when they’re left unstained. If you want to know which stain and color to apply to a certain type of wood, we recommend performing an image search for the hardwood species and the type of stain you’re interested in using (e.g. Douglas fir with water-based stain). That way, you’ll have an idea about which stain to try.
Once you’ve collected a few sample stains to try, select a piece of scrap flooring (or multiple pieces) and apply the different stains. Experiment with each type of stain and color and eventually you’ll find the perfect stain for the rest of your flooring.
How to Stain Floors
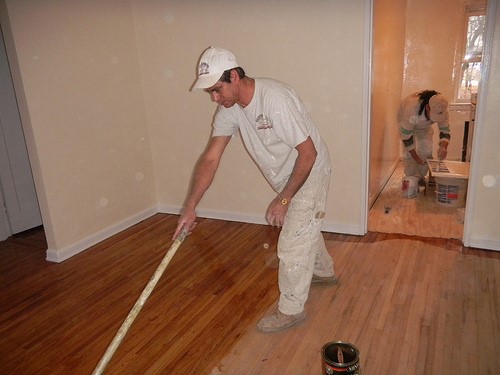
Image via Flickr by OlgerFallasPainting
1) Sand the floor
The first step to staining your floor is to sand it. This removes unsightly scratches and gives you a smooth surface for staining. After you’re done sanding, thoroughly vacuum your floors to remove all the dust completely.
2) Raise the grain
Next, use a method called “water popping” to raise the grain on your floor and help it accept the stain better. To do this, run a wet mop over the floor and let it dry for about a half hour before you begin staining.
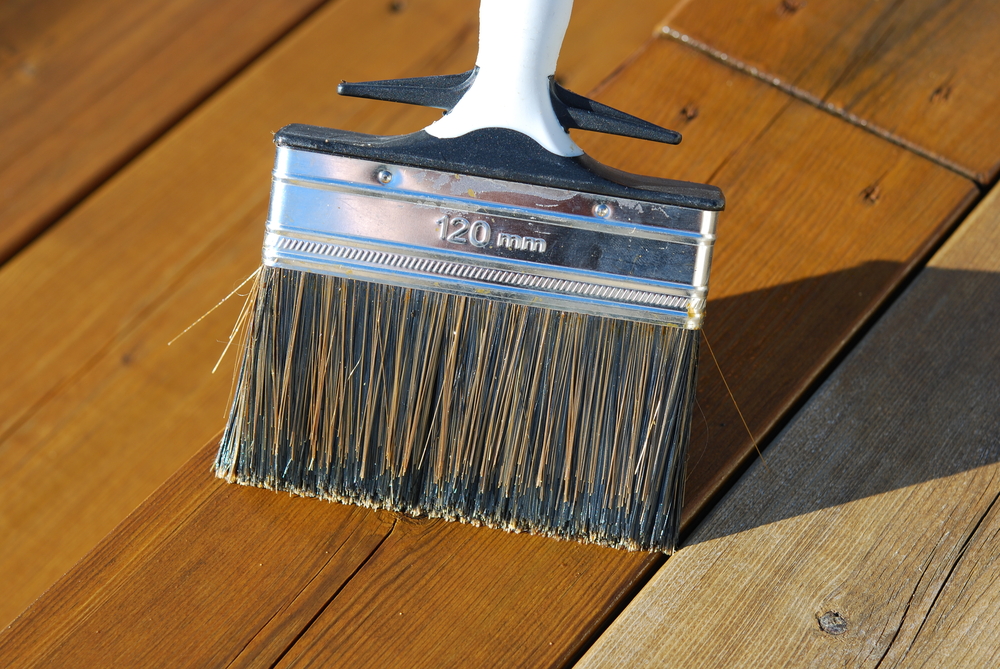
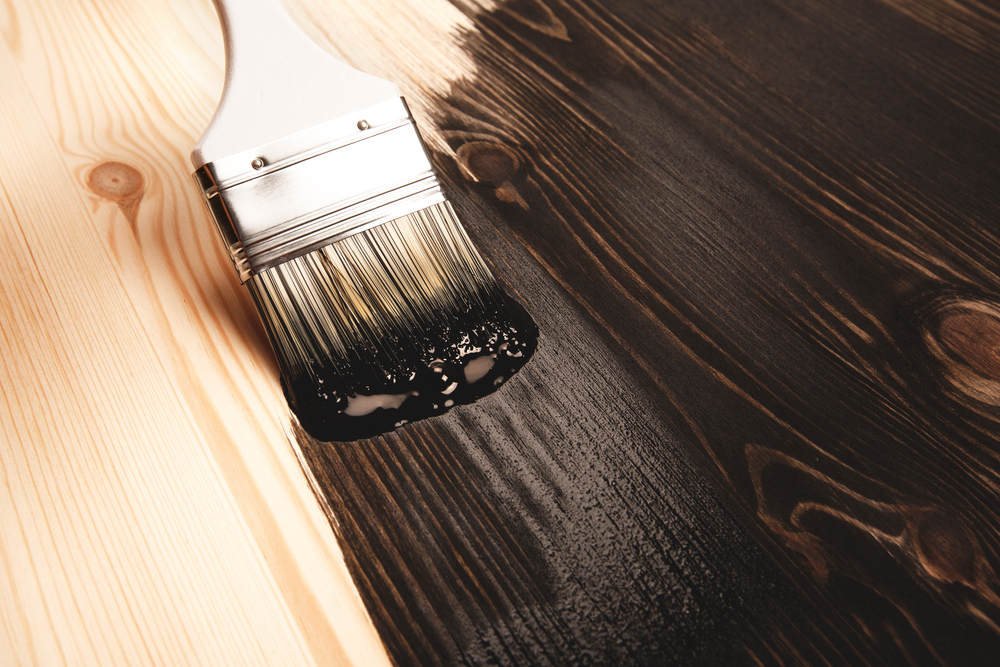
3) Apply the stain
Once the floor is dry, use a sponge or rag to apply the stain to the floor, going with the grain. Make sure you frequently wring out the sponge or rag so you get even coverage on the floor. After five to 10 minutes, remove the excess stain with strong strokes. Remember, the longer you let the stain soak into the wood, the darker it will turn. Allow the stain to dry thoroughly before walking on it.
How to Stain Hardwood Floors Without Sanding
Whether you have extreme allergies or hardwood floors with unique features, there are times when it’s impractical to sand before you refinish. In these cases, it’s more practical to use a cleaner and floor polish to refinish your floors.
1) Clean the floors
Before you start, clear the room of furniture and rugs, and then vacuum or sweep the floors to remove any dust. Use the cleaning solution to make sure your floors have a pristine surface for the polish.
2) Apply the polish
Once the cleaning solution has completely dried, spray a small section of your floor with the polish, and use a microfiber mop pad to spread it on the floor. Allow the floor to dry for at least one hour before you walk on it, and give it 24 hours before heavy foot traffic and replacing your furniture.
Since you’re not sanding, some scratches will still show up on your floors after you’ve applied the polish. If you notice these scratches on your floor, you can use a walnut to help minimize their appearance. First, take the walnut meat out of its shell, and rub it along the scratch. Then, use your finger to warm the scratch and help the nut’s oils penetrate it. Let it sit for about five minutes, and then use a soft cloth to clean the area. If you have a nut allergy, you can also try using brown shoe polish or a stain marker to conceal the scratches.
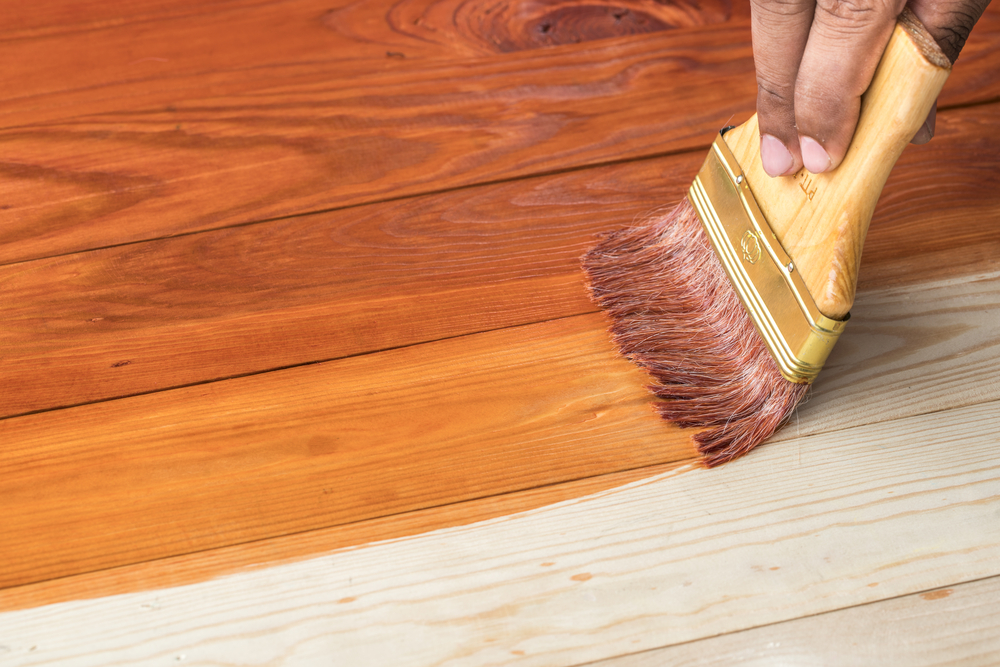
Applying a Clear Coat
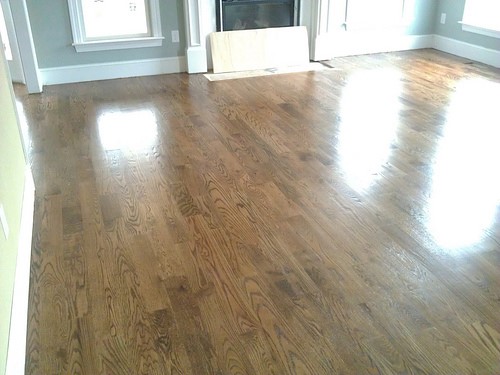
Image via Flickr by jmrodri
While stains can change the color and bring out your wood’s beauty, they actually do nothing to protect the wood. Even though applying a clear coat is an optional finishing step when staining wood, if you want to protect the wood from water, wear and tear, and chemicals, a clear coat is an important step. Clear coats come in gloss, semi-gloss, and satin sheens. The gloss level only affects the appearance of the wood, not the durability, so choosing a sheen is simply a matter of personal preference.
Alternative Stains to Consider
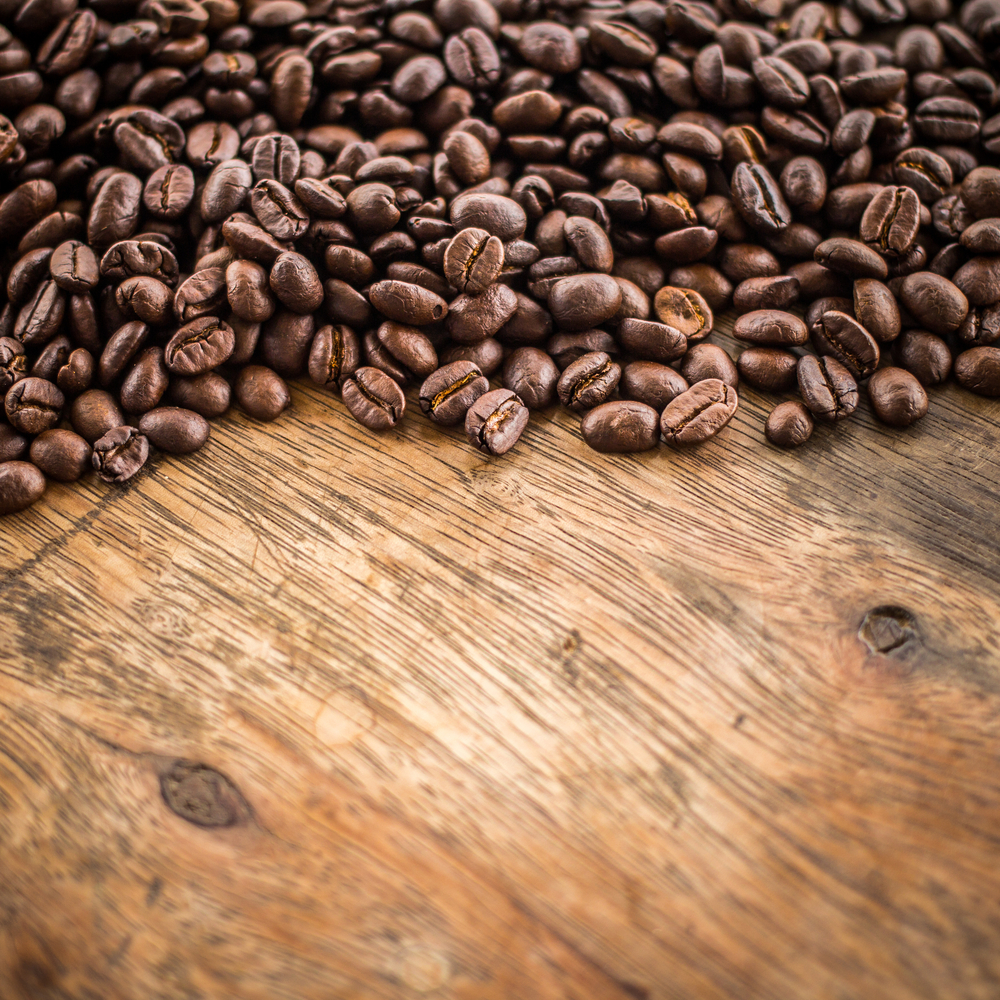
If you’re thinking about a natural and alternative stain, there are several items around your house you can use. Applying cold coffee to wood can leave a solid brown hue. To use coffee as a stain, let it sit on the wood for around 10 to 15 minutes. The coffee stain works best if it’s fresh, and it hasn’t been sitting in temperatures 180 degrees Fahrenheit or higher. Since the color doesn’t extend deep into the wood, it’s important to use a clear coat over the coffee stain. Coffee stain can fade in light, and it’s not good for outdoor use.
Food coloring is another stain alternative to consider. Since food coloring is non-toxic and the colors turn out bright and vivid, this is an ideal stain for children’s rooms. However, to make sure the color doesn’t rub off on hands or clothes, it’s a good idea to add a clear coat once you’re done. To make a food coloring stain, mix one-part food coloring with five-parts water. Let the stain sit on the wood for about five minutes, and then wipe away the excess. Allow the wood to dry overnight before applying a clear coat.
While staining seems like a complicated task with so many options available, once you know what wood you’re staining, the type of stain you want to use, and the best way to do it, staining actually becomes a simple task that can help protect your wood and bring out the beauty of the grain.
Any hardwood staining questions? Ask us in the comments section below.
BuildDirect Product Expert Team
Hi Linda,
Thank you for getting in touch! You will want to go with a Maple flooring in a standard, premium or premier grade to have less color variation. Unfortunately all floors will have a bit of color change over time when it is exposed to sunlight. I see you have ordered a sample of our natural maple, are there any other options you would like to see? Please let us know!
LINDA HENRIKSEN
Red Oak or Maple? I want a very light white stain and three coats of semi-gloss finish. I don’t want a floor that looks painted as I like the grain, just not a huge variance in dark and light colors. I do not want my floor to yellow or turn golden as my current natural oak floor did with oil poly. What is the best wood for a very pale floor with little black grains.